How to Take Pictures of Diecast Cars
How to Take Good Shots
of Die-cast Cars
Die-cast cars have been around since the early 1900s, and have evolved ever since that time, implementing different designs and liveries, as well as being a hobby for many collectors around the world. One branch of the hobby is taking photos of your favorite cars and sharing them with the world.
Just like the 1:1 counterparts, people manipulate the lighting, subject, and settings of the camera to achieve the desired outcome. I myself, have recently gotten into this aspect of the hobby because I enjoy taking my cars out of their cases and displaying them.
Picture of my model Mazda RX-7 FD3S Veilside
Here are the steps that I normally take when taking photos of these model cars, and hopefully you can put them into practice.
1, Pick Your Subject - Simple enough, take a good look at your collection and decide on what car/cars do you want to take pictures of for the photoshoot (if you're starting out on the hobby, there are numerous cars in toy stores and online sellers.)
2. Set Up the Scene - Once you have selected your cars, take them and set up your shooting area. If you have dioramas, set up your cars there. If you don't go to a well-lit place fit for your theme of the photoshoot and make sure to clear out the area so you don't bump into things.
Sample Diorama made by @D'Garage64 on Facebook
3. Get Your Camera Ready - Whether it be a simple phone camera or a bridge camera, get ready to set it up so you can take some shots.
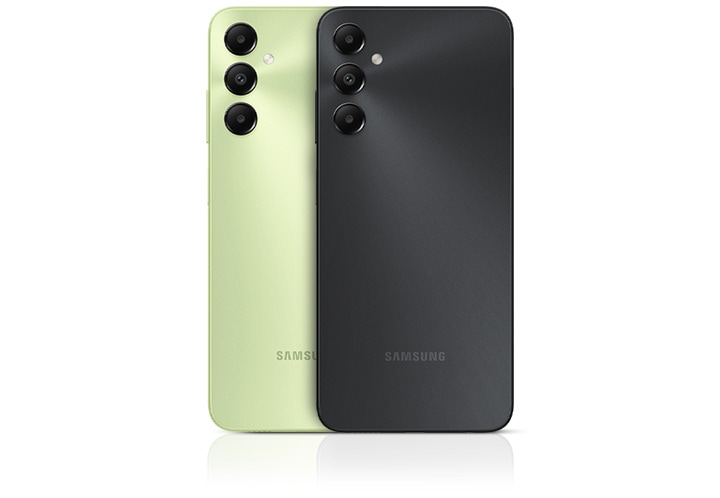
My phone, a Samsung A05s (credits: Official Samsung Website)
4. Take Your Shots! - Take as many or as little shots as you want, in different angles and in different positions. This helps you in choosing some of the better shots from the others, and those shots will move on to the editing process. Make sure to have decent lighting so that the camera can really make the subject the main focus of the photoshoot.
5. Pick Your Favorites - As stated before, once you feel like you have enough material, you can select hte ones that you think look the best and can separate them from the other shots.
6. Edit the Photos - If you're looking for a quick edit, there are many filters on Facebook Stories or IG Stories. But there are also free apps that you can use if you want a more detailed edit of the photos you took. Some examples that can be used are Photopea, PicsArt, Canva.
7. Write Up Your Captions - Once you're done with the editing stage, you can now write up your caption for the post. It can be as simple as stating the name of the model or describing how it is your favorite car in great detail. If you're running a page that is in the niche of die-cast cars, it is best to also research on some hashtags that relate to your page
A sample post from my personal project page on Instagram. (@mini.rohtahree)
8. Post Your Pictures Online - As depicted above, once you're happy with everything, you can now post them to all the social medias that you plan on posting them. You can also post them in groups or forums where you can share your shots with like-minded individuals and collectors such as yourself.
9. Packing Up - Once you're done with everything, you can now pack up. (unless you have a safe space to display your cars freely) This means screwing the cars back to their baseplates, or putting them back in their containers. You can also put them back in display cases if you have them
10. Appreciate Your Work - The last thing to really do once you cleaned up and put everything back, is to appreciate your collection and the fact that you have miniature versions of your dream cars. (Seeing as these cars are very expensive in the real size).
There you go! Now you know how to take pictures of your collection, how to post and write captions for them, and also how to display them in such a way where you can admire them.
There you go! Now you know how to take pictures of your collection, how to post and write captions for them, and also how to display them in such a way where you can admire them.


Comments
Post a Comment